- Nov 12, 2024
Mastering the Line Tool in Silhouette Studio: A Comprehensive Guide
- Brenda Lambert
- 1 comment
Introduction
As a Silhouette Studio user, you know that the software offers a wide range of tools and features to help you create stunning designs. One of the most fundamental tools in your arsenal is the Line Tool, which allows you to draw and manipulate lines in your projects. However, the Line Tool can be a bit tricky to master, with different settings and options that can impact how your designs will print and cut.
In this comprehensive guide, we'll dive deep into the Line Tool, exploring its various features and functionalities. Whether you're a beginner or an experienced Silhouette user, you'll come away with a better understanding of how to leverage the Line Tool to achieve your creative vision. Let's get started!
Understanding the Basics of the Line Tool
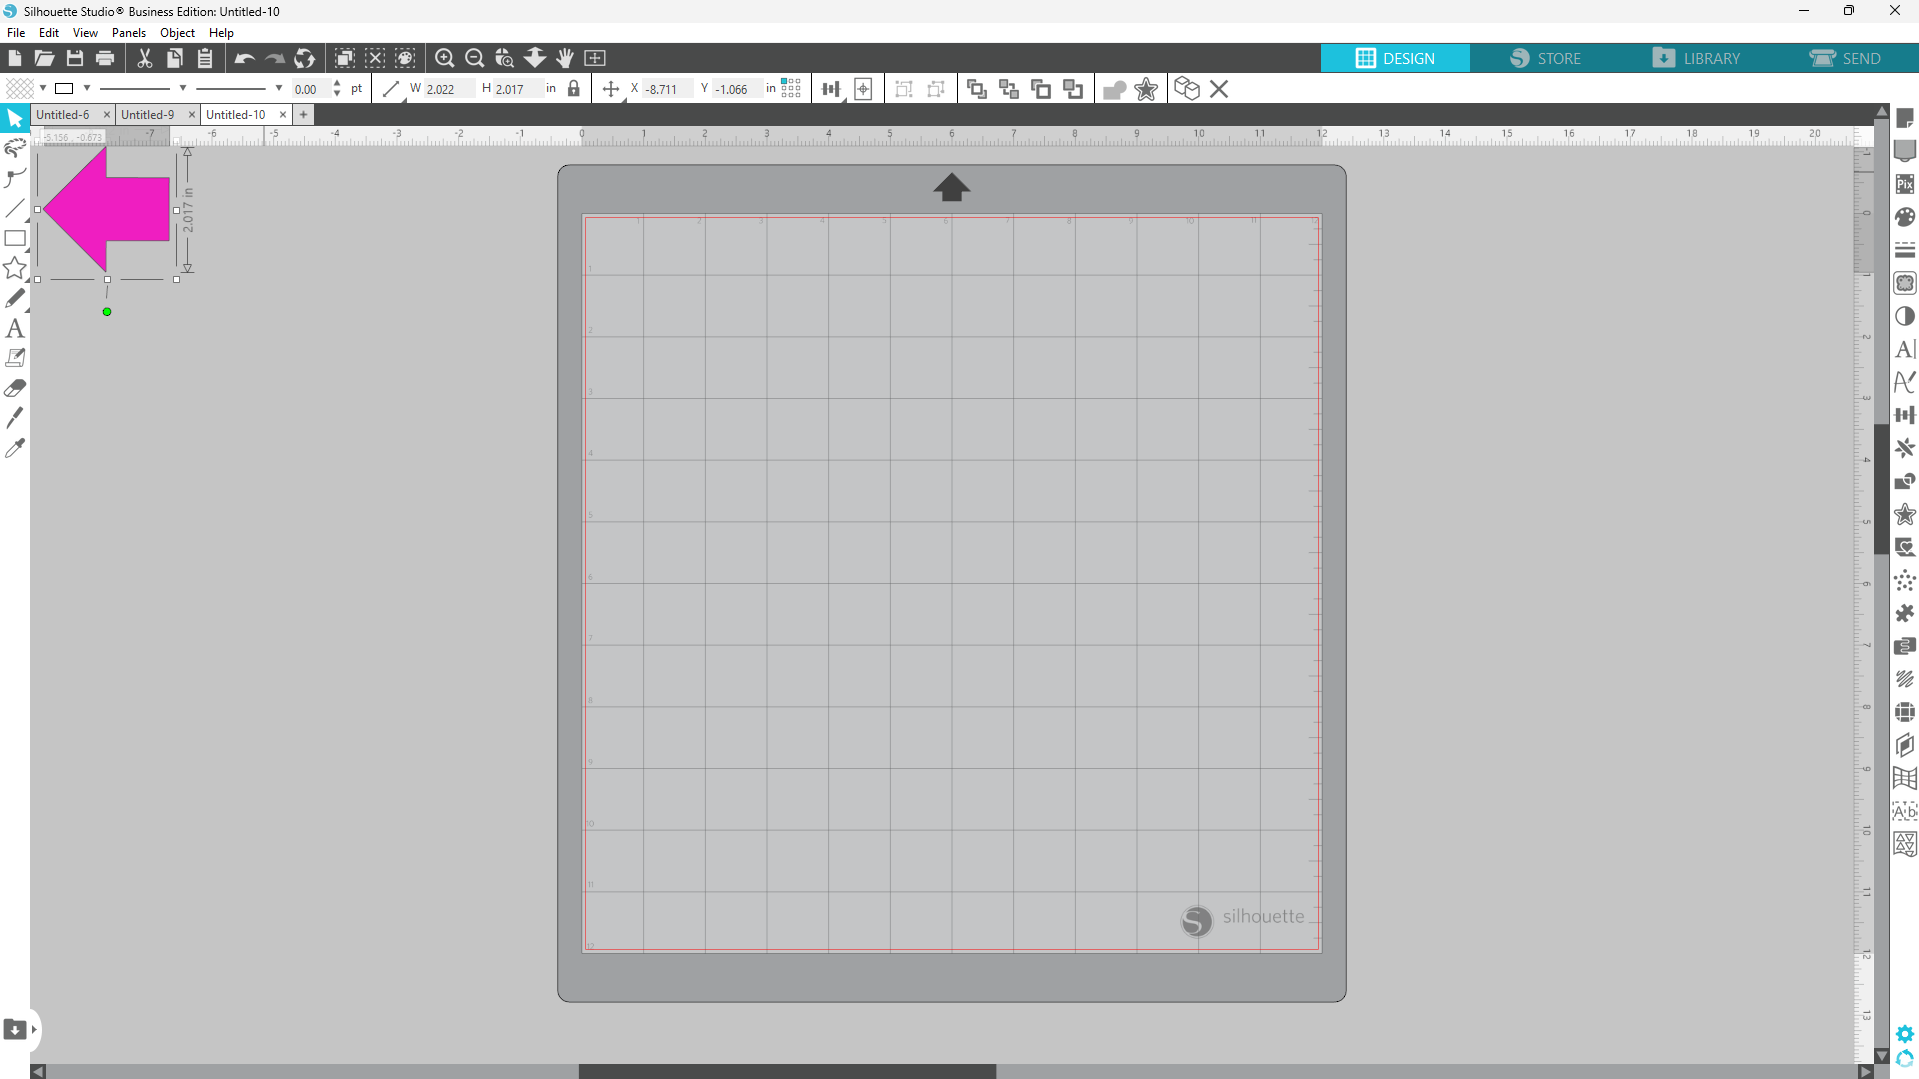
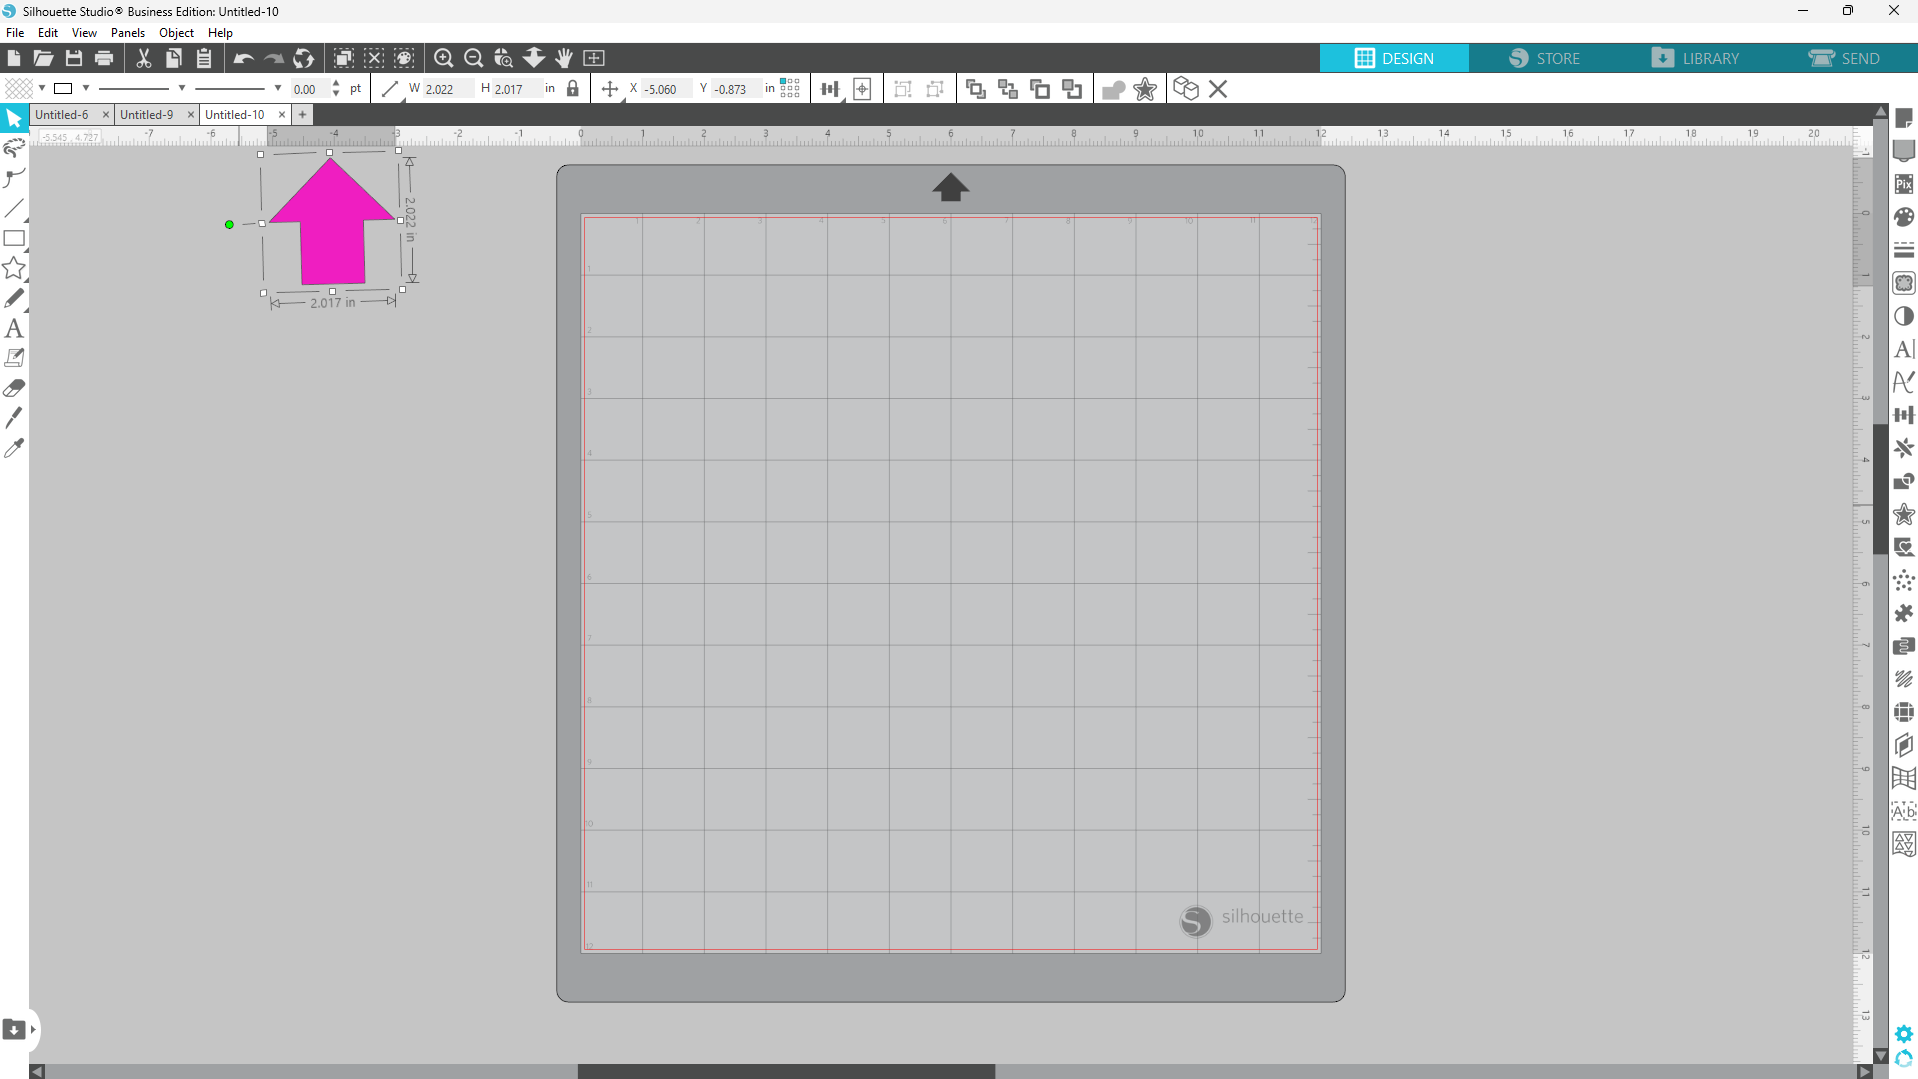
The Line Tool in Silhouette Studio is a versatile tool that allows you to create straight, horizontal, vertical, or diagonal lines. To use the Line Tool, simply select it from the drawing tools panel and click and drag on the design page to draw a line.
One of the key features of the Line Tool is the ability to hold down the Shift key while drawing. This will constrain the line to a perfectly horizontal or vertical orientation, making it easy to create precise, straight lines.
Adjusting Line Thickness
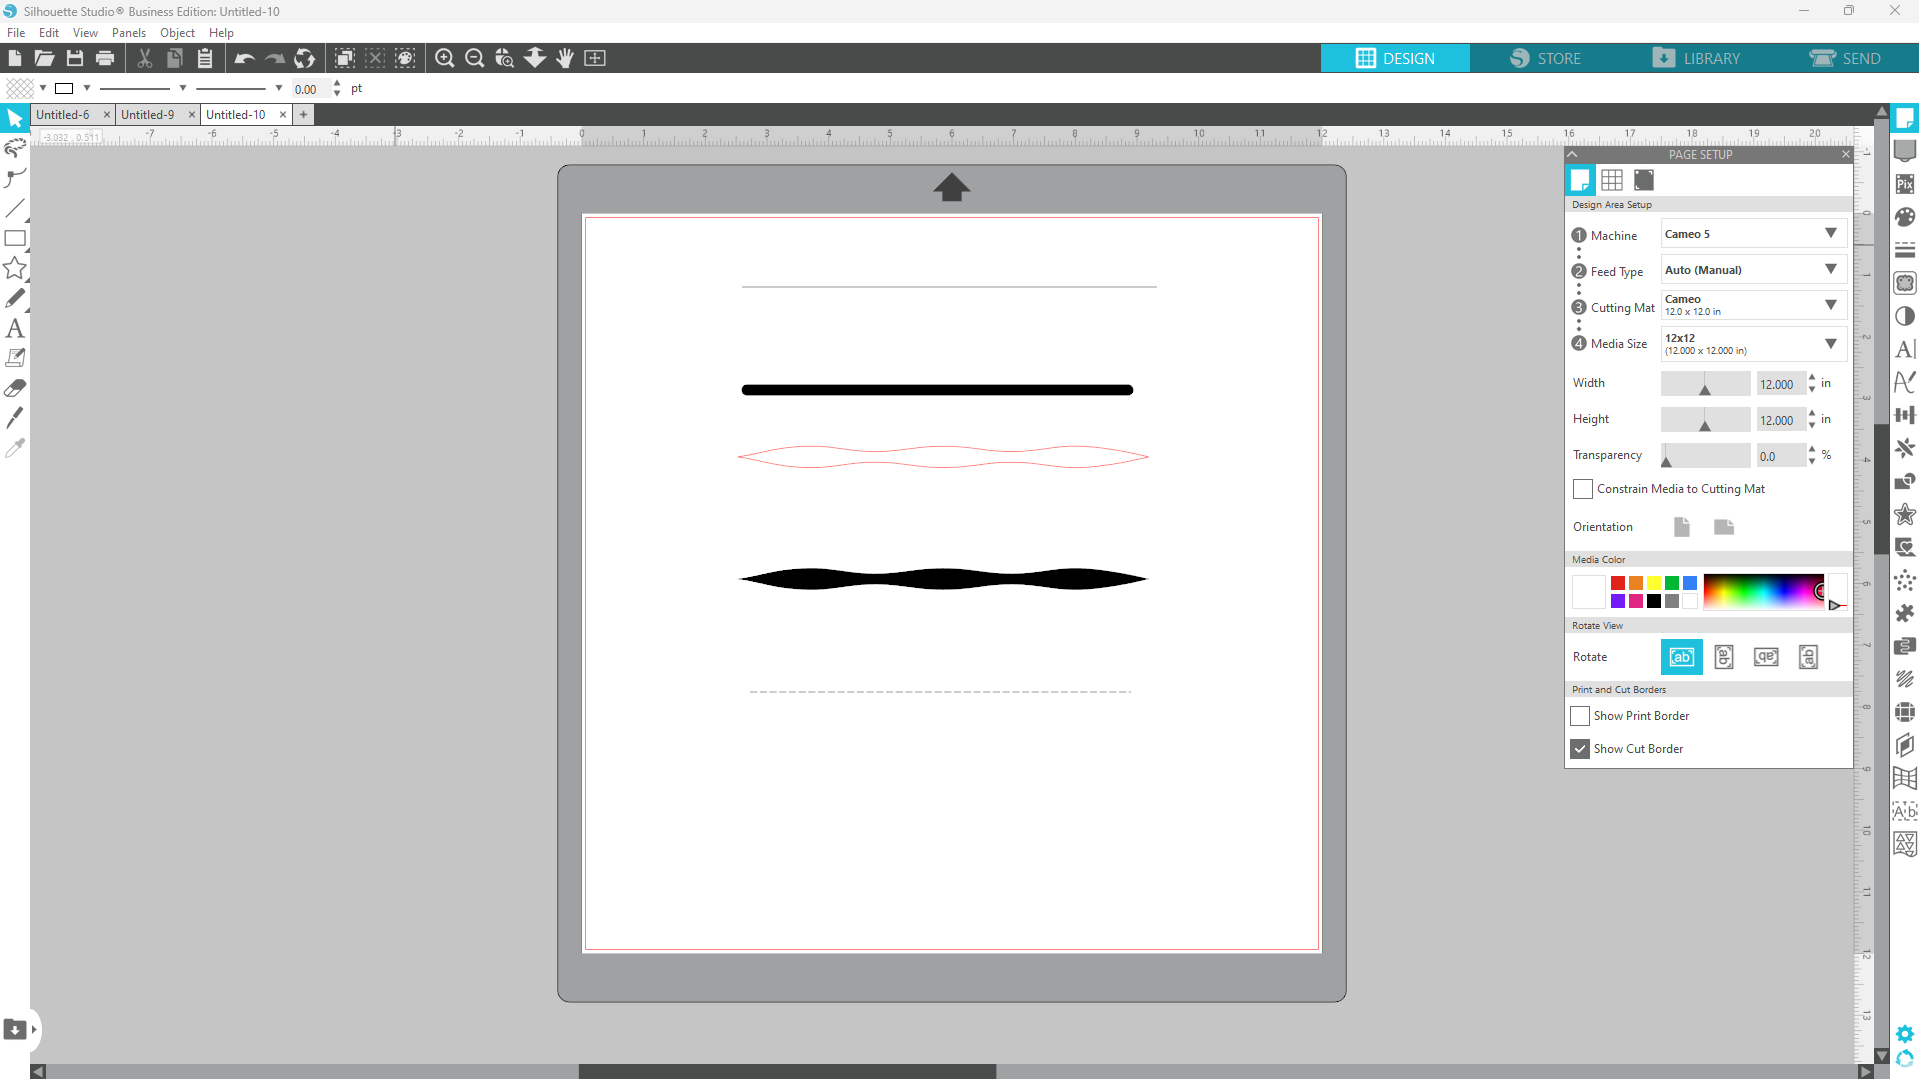
Once you've drawn a line, you can adjust its thickness by using the arrows or entering a numerical value in the Send panel. As you increase the thickness, the line will appear as a rounded rectangle on the design page. However, it's important to note that this change in appearance does not affect the way the line will cut.
Regardless of the line thickness, the line will always cut as a single, straight line down the center of the shape. This is an important distinction to understand, as it can impact the way your designs will cut and the overall look of your final project.
Decorative Line Styles
In addition to adjusting the thickness of a line, you can also choose from a variety of decorative line styles in the Line Styles panel. These styles include patterns that can add visual interest to your designs.
Similar to the line thickness, the decorative line styles will only affect the appearance of the line on the design page and not the way it cuts. If you want the decorative line style to be cut, you'll need to use the Trace feature to create a cut path.
Dotted or dashed lines will cut as such in the Send Panel.

Understanding Cut vs. Print Behavior
One of the most important things to understand about the Line Tool is the difference between how a line will cut and how it will print. This distinction can be a source of confusion for many Silhouette users, but it's crucial to get it right to ensure your designs turn out as expected.
Cutting Behavior
- If the line thickness is set to 0, the line will not cut at all, even though it may still be visible on the design page.
- As soon as you increase the line thickness, the line will cut as a single, straight line down the center of the shape, regardless of the appearance on the design page.
- Decorative line styles, such as dotted or dashed lines, will cut as the specified pattern.
Printing Behavior
- If the line thickness is set to 0, the line will not print at all, and it will not be visible on the final output.
- As you increase the line thickness, the line will print as a thicker, rounded rectangle shape, reflecting the appearance on the design page.
- Decorative line styles will print as the specified pattern, but they will not cut unless you use the Trace feature to create a cut path.
Understanding the difference between cutting and printing behavior is crucial when working with the Line Tool, as it can help you achieve the desired results for your projects.
Leveraging the Line Tool for Creative Designs
Now that you have a solid understanding of the Line Tool's features and functionality, let's explore how you can use it to create a variety of designs and projects.
Cutting Precise Shapes
One of the primary uses of the Line Tool is to create precise, straight-edged shapes for your projects. By drawing a line and adjusting the thickness, you can create a wide range of shapes, from simple rectangles to more complex geometric designs.
Creating Perforated or Scored Lines
The Line Tool's decorative line styles can be particularly useful for creating perforated or scored lines in your projects. These types of lines are often used for creating tear-away sections, fold lines, or other design elements that require a controlled break or crease.
To create a perforated or scored line, simply select the desired decorative line style from the Line Styles panel and adjust the length as needed.
Combining the Line Tool with Other Features
The Line Tool can also be used in conjunction with other features in Silhouette Studio to create even more complex and dynamic designs. For example, you can use the Line Tool to create guides or alignment aids, which can be helpful when working with intricate designs or layered projects.
Additionally, you can use the Line Tool to create outlines or borders around other design elements, such as text or shapes, to add visual interest and definition to your projects.
Tips and Tricks for Mastering the Line Tool
As you continue to work with the Line Tool in Silhouette Studio, here are some additional tips and tricks to help you get the most out of this powerful feature:
Keyboard Shortcuts
- Hold the Shift key while drawing a line to constrain it to a horizontal or vertical orientation.
- Use the arrow keys to nudge a selected line in small increments.
Precision Positioning
- Use the Snap to Grid or Snap to Guides features to ensure your lines are perfectly aligned.
- Enter precise numerical values for the line's position, length, and angle.
- Utilize the Align and Distribute tools to align and space multiple lines with precision.
Troubleshooting Cut Issues
- If a line is not printing as expected, check the line thickness and ensure it is set to a value greater than 0.
- For decorative line styles, use the Trace feature to create a cut path if the line is not cutting correctly.
- Ensure the line is not overlapping or intersecting with other design elements, as this can sometimes cause cutting issues.
Conclusion
The Line Tool in Silhouette Studio is a versatile and powerful feature that can be used to create a wide range of designs and projects. By understanding the differences between cutting and printing behavior, as well as the various line styles and thickness options, you'll be able to leverage the Line Tool to its full potential and take your Silhouette creations to the next level.
Remember, the key to mastering the Line Tool is practice and experimentation. Don't be afraid to try out different techniques and settings to see what works best for your specific projects. With time and experience, you'll become a Line Tool pro, able to create stunning, precision-cut designs with ease.
Be sure to get yourself set up on our email list so that you can stay informed of new blog posts, YouTube tutorials, and classes!
If you are looking for more information on the features and functions of Silhouette Studio without any fluff, check out my Silhouette Studio handbook. It covers everything in a blog style. You can download it and access it on your computer, and/or print it out if you prefer a hard copy.